Komodo Dragon Saliva
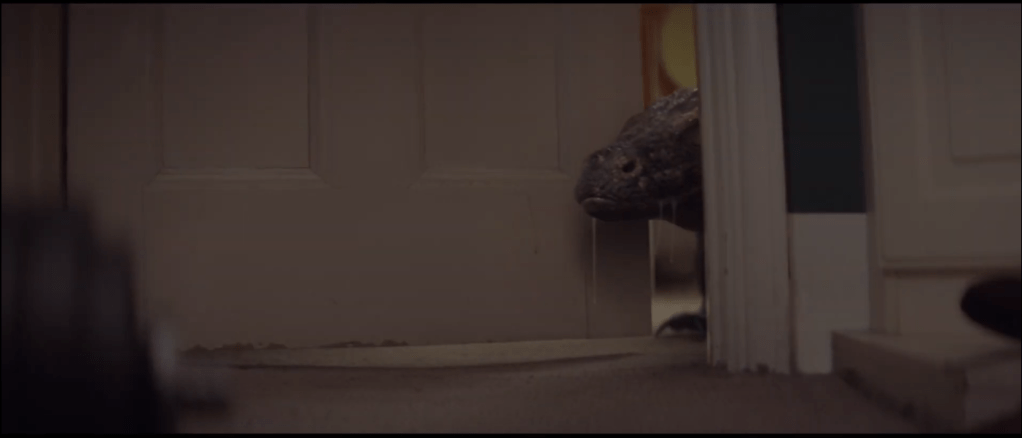
For my employer set project, I was tasked with creating saliva for a komodo dragon for a Barnados project. There were going to be close up shots of the Komodo dragon while it is moving. This meant that the saliva had to be simulated to react with the animal.
Day 1
Research and Development
The brief I was given was that this saliva would need to hang quite low but with good tensile strength and elasticity. the saliva would be viscous and hang low from the creases of the mouth. It would need to look thick but react elastically when jerked around. a heavy bulbous drip on the end would need to tease it dropping off. They also wanted me to develop a way to create saliva between the animals teeth as well as potential for the saliva strands to break. I began by looking at the set up previously made for the Hyena version of the project. I had been involved in that part but so I had some understanding of what was being asked of me.
Day 2
Hanging Drool
With the understanding of what was needed to create single strands of saliva on the hyenas I began development of the two in to one method. This was necessary because the aesthetic of the komodo saliva was of two strands webbed together to create one long one. I used the point numbers of vertices on the komodo model to create the two lines that I then weld together giving space for the webbing pre-simulation. Once simulated the two strands hold together to create that tapered ‘y’ look I’m after. To complete that ‘y’ tapering look, beneath the simulation but before the vdb was wholly applied to the drool I was applying a similar process to that of the between the teeth drool node tree.
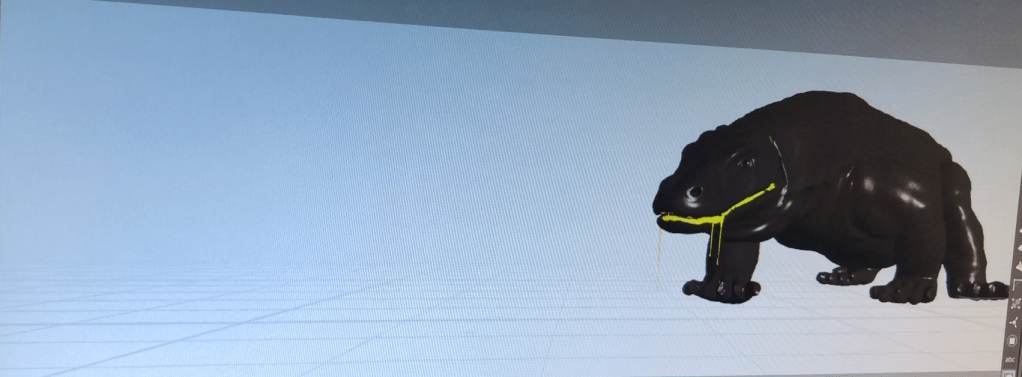
I separated the two sides of the ‘y’ taper into to group nodes. The resampled tow sides were then group promoted from vertices to edges. A delete node was used to isolate them to just the two lines which gave them a point number which using attribute create was given the attribute called “id”. To create the membrane in between the ‘y’ i used an add to create a line between the two lines and scattered points along them. Then the vdb was applied with the same nodes that all the other saliva was but with a smaller point scale to create a thinner looking vdb mesh in the membrane section. This accomplished the required look of the tapered drool to long saliva string.
Drool on mouth and drips
The saliva on the mouth of the Komodo would need to be heavily slathered. This was created using a paint node to paint points. Using red for foreground heavier areas and blue for background lighter areas that I used generously to create a sense around the lips that like the references I had the Komodo was constantly spilling mucus like drool. The paint node would then be run though a scatter node which applied points. Those points were given scale to complete the saliva process adding thickness. To create the drips from the mouth on the komodo after the points are scattered and painted they are run through a popnet node to emit particles sparingly. The birth rate was particularly low so that it would not drip often. Inside the popnet there was a popkill node with an expression which instructed the particle to die if it reached the 0 point of the y axis of the world which would be the floor.
Day 3
Drool between teeth
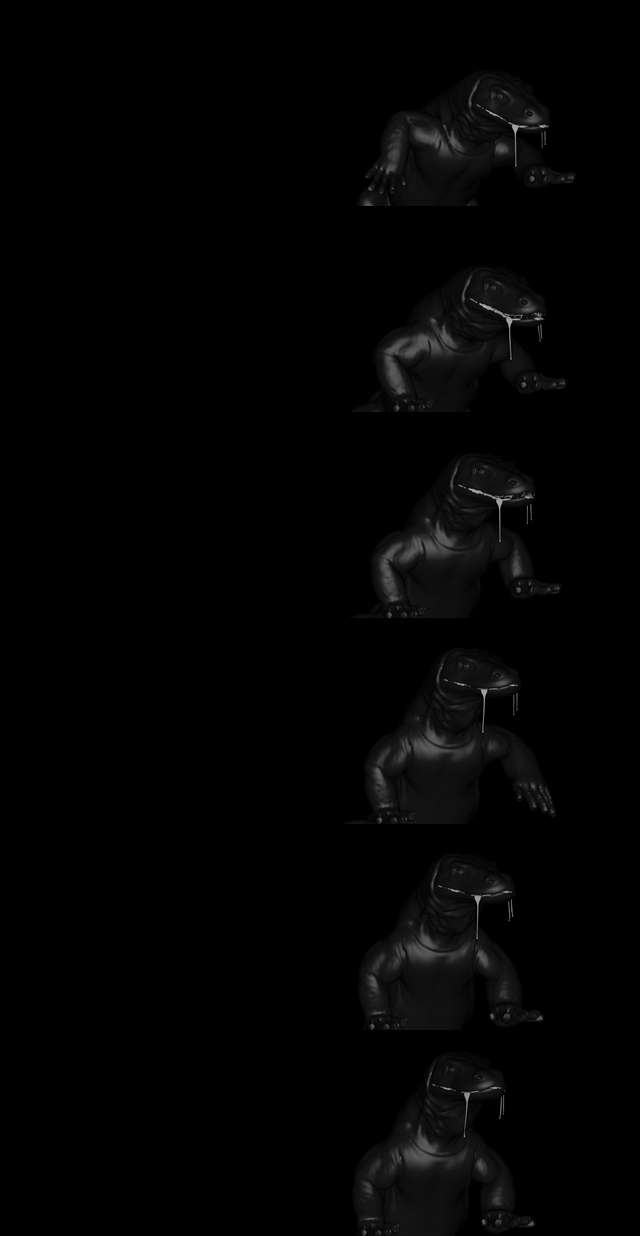
The drool needed to be tapered similarly to the hanging sections but in between the teeth from one tooth to another. I first started off by isolating the teeth of the model with the delete node. Once isolated to create and connection between the teeth I used an add node. The add created a line where the saliva will be generated with the trail node the emphasize the add. The resample adds many points to the line to make the resulting line a denser more easily manipulable result. The AttributeVOP uses a pscale variable bind VOP node to add a ramp that controls the taper – the same as the handing drool. I also promote the a min and max fit range node for more easier control. To finish off the line is converted to a vdb like the other saliva section methods.
Day 4
Simulating
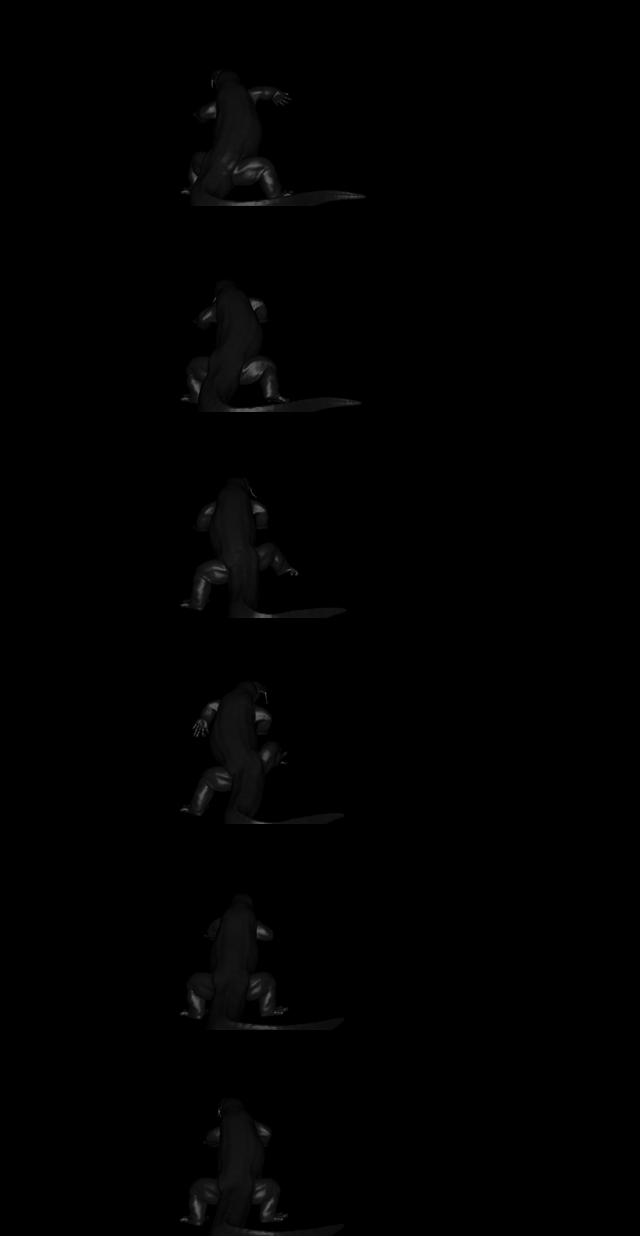
Tuning the simulation was a difficult task that took a lot of working out to find the best way to keep the simulation consistent across all the shots I had to sim for. Each shot presented different challenges to the simulation and there was a lot of backtracking to make the sway and tensile strength of the saliva feel the same across shots. I played with the forces applied to the saliva a lot in each shot scene and sometime sin order to keep them consistent that meant making the forces applied in each one slightly different to fit the motion of the animal. In some shots where the animal was moving very slowly i was asked to allow for more sway om the hanging drool to make it read better to the viewer. In some shots where the komodo fell or made a jerk movement it was important that the drool came across as both dense and sturdy but also malleable as it swung through the air or stuck to the animal. The distances in which different shots were shot as contributed to how much the hanging drool should sway to seem as though the amount of momentum it carried was consistent in every shot.
Vellum was chosen as my method of simulation because I wanted to experiment with it as I had never used it before. I also felt it was a very non destructive and easily manageable system from my research. I used the hair constraint in conjunction with the line to easily simulate a long strings movement when pinned from a single point attached to the geo. I could control the stretch and the bend of the “hair” from the initial vellum constraint node. Using these variables i could experiment with the amount it should stretch when appropriate and how much give was available should the “hair” need to bend around a surface.
I had many many problems when simulating across scenes and had to tailor my solutions to the problems presented. A problem i had with one of the many hanging drool sims I did was that due to collisions that were having problems solving, I had to greatly increase the collision passes. Doing so then meant on certain shot with more movement the saliva now looked as if it dangled less naturally in other shots and I implemented the same amount of collision passes across the board. Collisions were my biggest issue, the two strands would start separately and be welded together but were pinned from the inner lip to look as if they were pouring out. For some scenes just having self collisions turned on was enough but for others it provided a better result to turn that option off and use the edit node on the resampled line itself to bend over the lips. This was a frustrating workaround to have to arrive at but the end result was improved greatly. The biggest most difficult workaround to arrive at was when two pieces of saliva parallel on either side of the mouth were not simulating similarly which looked unnatural in final renders. The solution was to time shift the separate node trees to the first frame before they were simulating movement and using a point deform, making the unnatural saliva sim copy the more natural looking one. This was successful in disguising the glitches and problems that were found when using the vellum system for a short deadline turnaround.
Day 5
Caching and Exporting
The method for caching for this project was to separate the simulation and the vdb application to the simulation. This method was chosen so that I could see the movement of the sim in the lightest form and iterate and change it if needed, before any further aesthetic changes were made. I placed a mill cache node after the simulation and at the bottom of the node tree where the other saliva node trees are merged back together to become one. The mill cache node allows me to cache from the Mill farm which is far quicker than a local cache. This allowed me more freedom to test and experiment with the vellum simulation settings knowing I would have to wait 10 minutes per cache to view the potential changes.
The method of viewing how the saliva was simulating pre export was to use to separate nodes with an object merge node bringing in the komodo mesh in one and the saliva in the other. The saliva was given a yellow color to make it easier to distinguish against the komodo mesh. I could then play the shot frame range and observe how the saliva was simulating based on the komodos animations. I did this through the shot cam provided to get an even better understanding of what the end result was before exporting the version. The The exporting process was done outside of the saliva creation node. A separate export node. Starting with an object node referencing the conclusion of the saliva creation. Normals are then computed through a facet node. Followed by a transform node which converted the scale up by a factor of 10 in order to be in scale in Maya where the scene was being rendered.
ESP: Supervisor’s Report

