Knowledge
Simplify the software design process and the importance of design before development. Illustrate how workflow diagrams, prototyping and presenting to intended users can aid in designing better solutions.
Skills
Show you can accurately gather requirements from intended users, design elegant solutions that satisfy the brief with extensibility in mind. Present proposed solution and respond to feedback. Investigate existing solutions or frameworks and plan, document and development roadmap.
Knowledge
The process of designing software must first begin with an issue to solve. You must first find the issue and how your software will solve this issue. Once you understand your solution you can design your software around this. this design stage is the most important because it determines the effectiveness of your software. The more you invest in the design the better the software should solve the established problem.
Using workflow flowcharts diagrams can be helpful to understand step by step what you are intending to achieve and visually layout out the logical flow of your intended software. Once designed you can implement your design in code. This implementation stage is about creating what you have designed in principle. You may make several prototypes of this code possibly based of slightly different designs you may have created. This can be useful for testing out several similar but slightly different situations that the intended audience may find better for the pipeline or themselves personally.
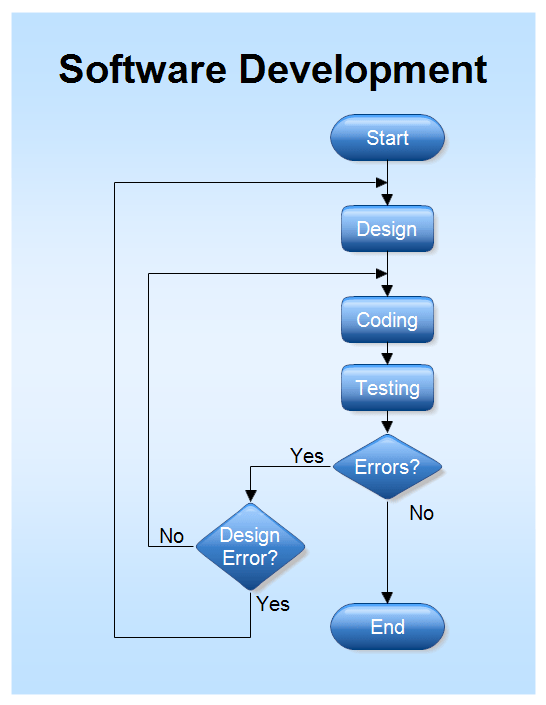
You would now test the software in this stage with yourself and intended users encountering this problem. you would preferably test it in pipeline to make sure it works in the environment as close to the real situation as possible. the next stage is document your findings as you are testing and then in conclusion after the fact. This documentation is crucial to making sure the software is usable by the intended audience based on their feedback. after this feedback has been implemented you can allow the users to use the software and enter the maintenance stage. As bugs are inevitably found you will apply the fixes live and continue to update the software accordingly.
Skills
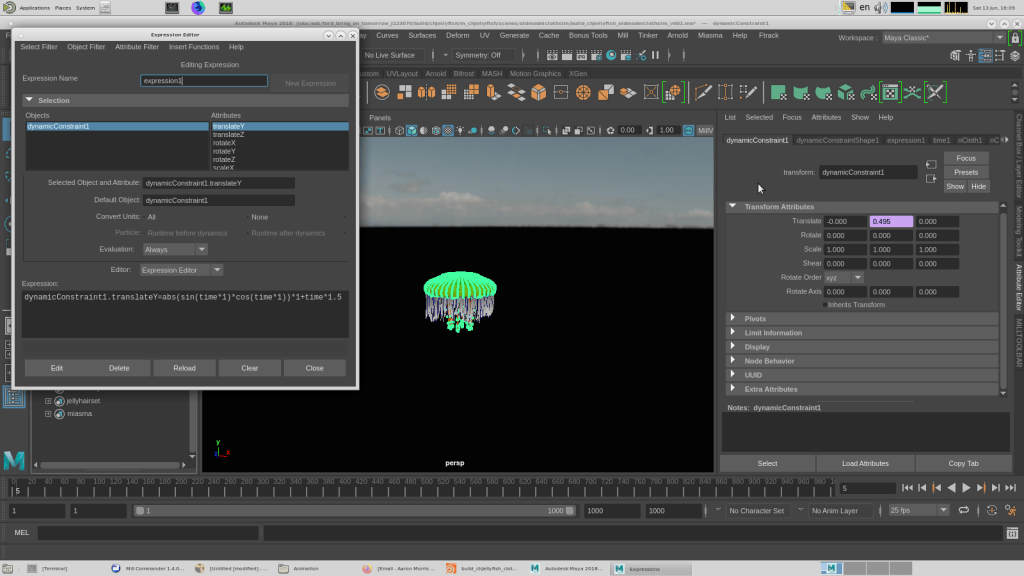
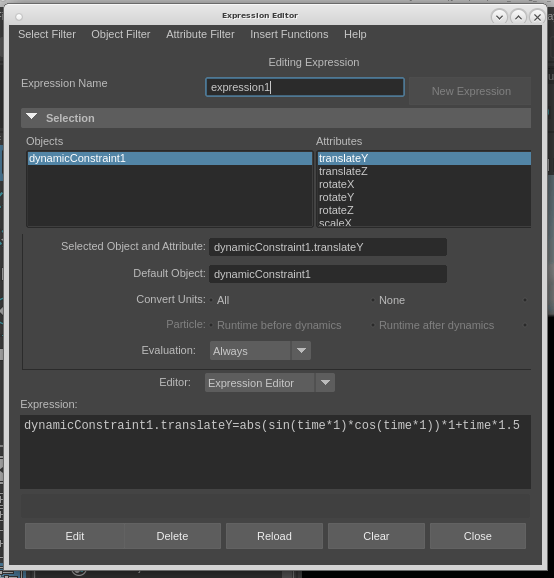
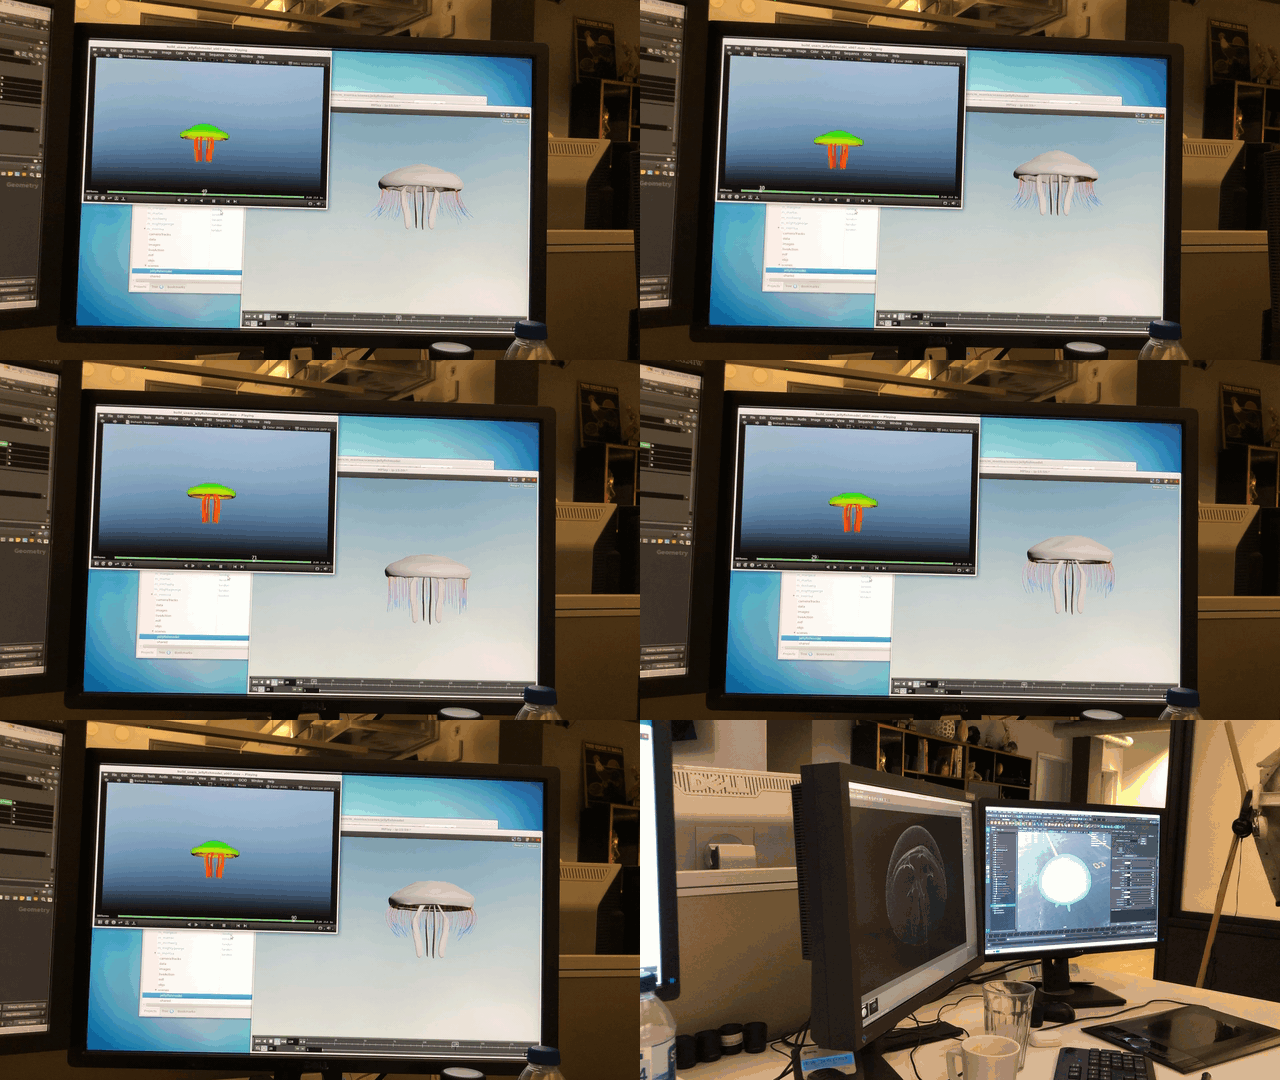
Early on in the development of a Ford project Adem a fellow ATD apprentice and I were asked to R&D a moon jellyfish to be included in the ad. This required me to design a system for the jellyfish movement to be created on the project. The camera was going to be relatively close to the asset and there were thought to be many of them. With this in mind both the anatomy and movement of the jellyfish had to be of the highest tier. Reference for exactly how a moon jellyfish articulated was scarce but I managed to acquire some footage that showed the motion well. The jellyfish would propel itself upward and then pause and allow the elements to affect it. This meant I had to take into consideration both and pattern of movement and a simulation element. I first started in Maya partly following a tutorial using nCloth. I managed to create a very stable yet easily tune-able python scripted animation loop with simulation trough nCloth applied which was also easily changed to suit any developing needs of the client. The main method of capturing the movement of the jellyfish was to use an expression on the y-axis movement of the model with a dynamic constraint parameter on it. I will go in to further detail on the maths of this expression in the Maths section of this blog.
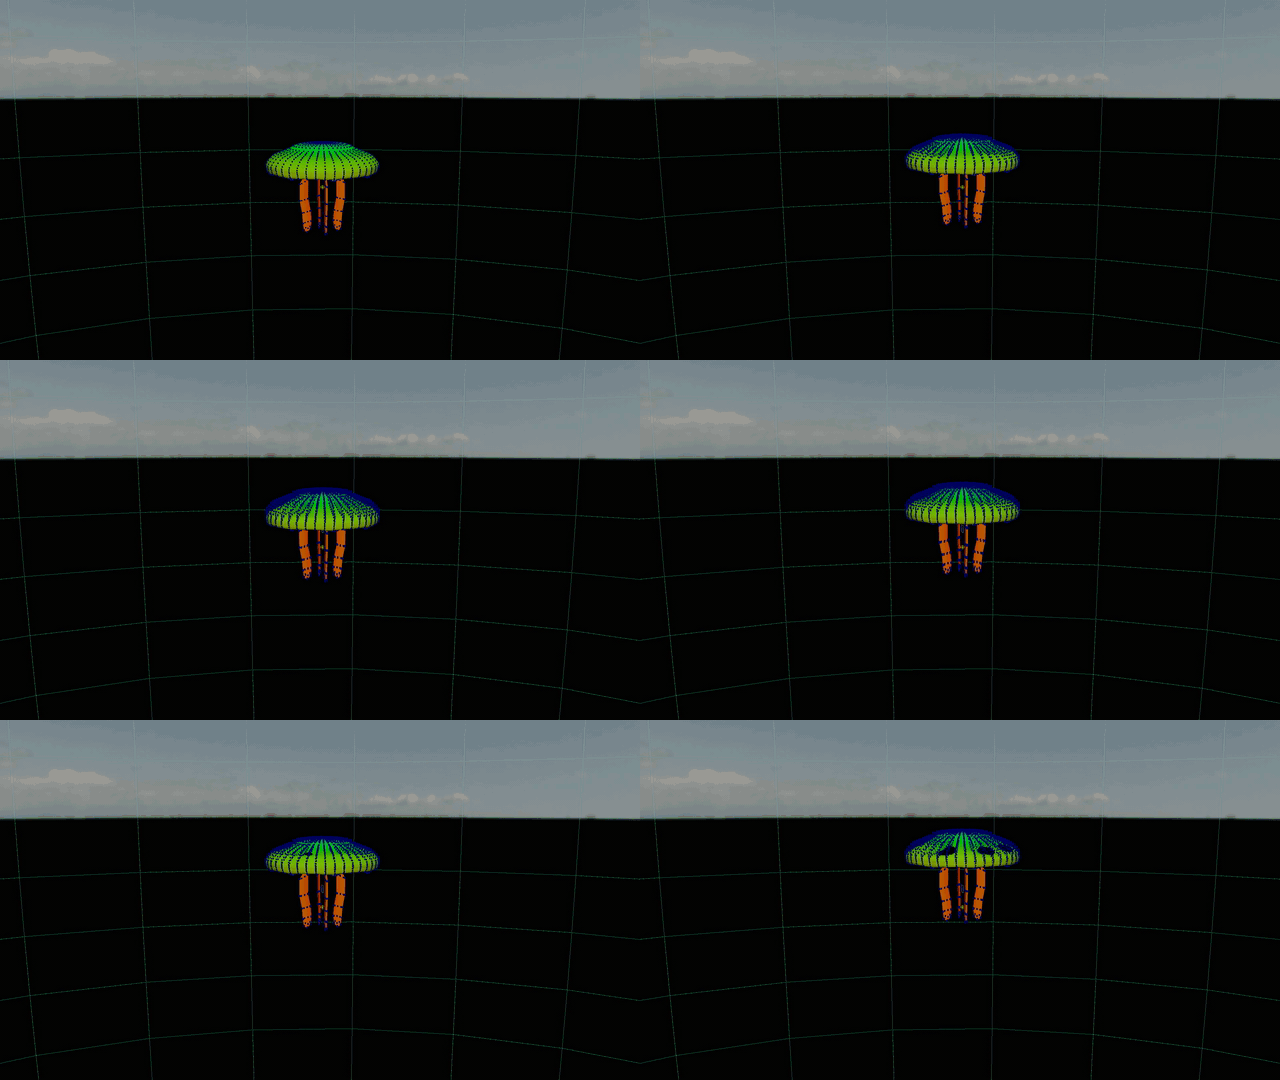
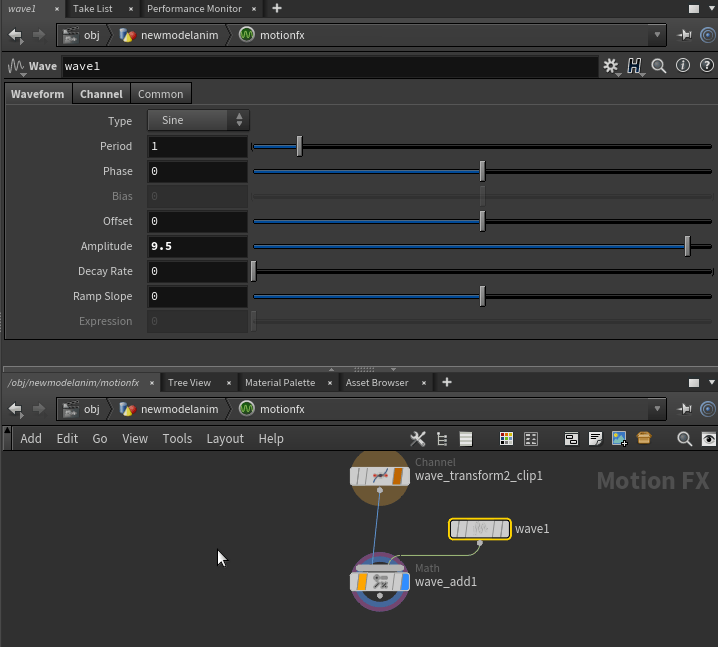
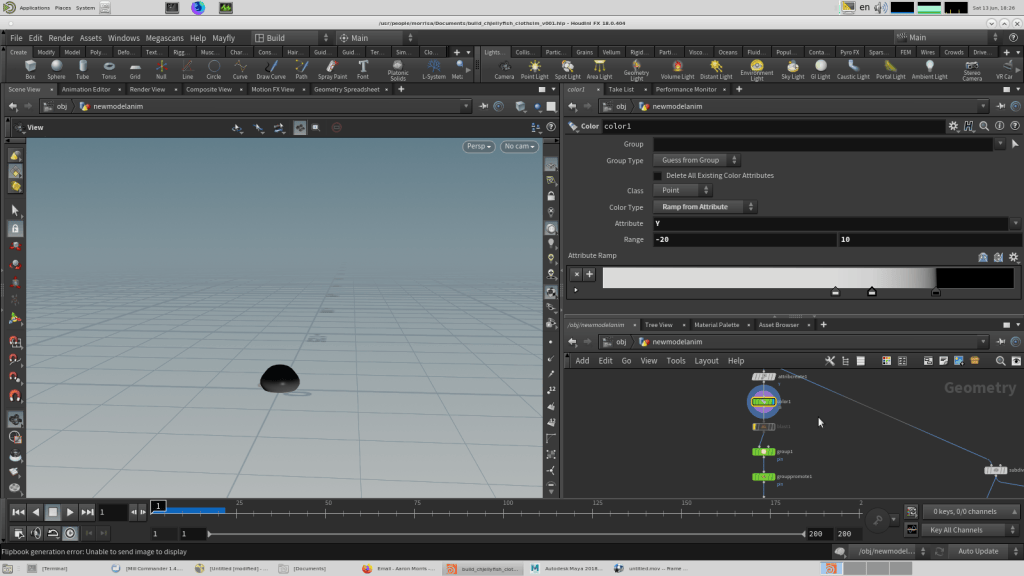
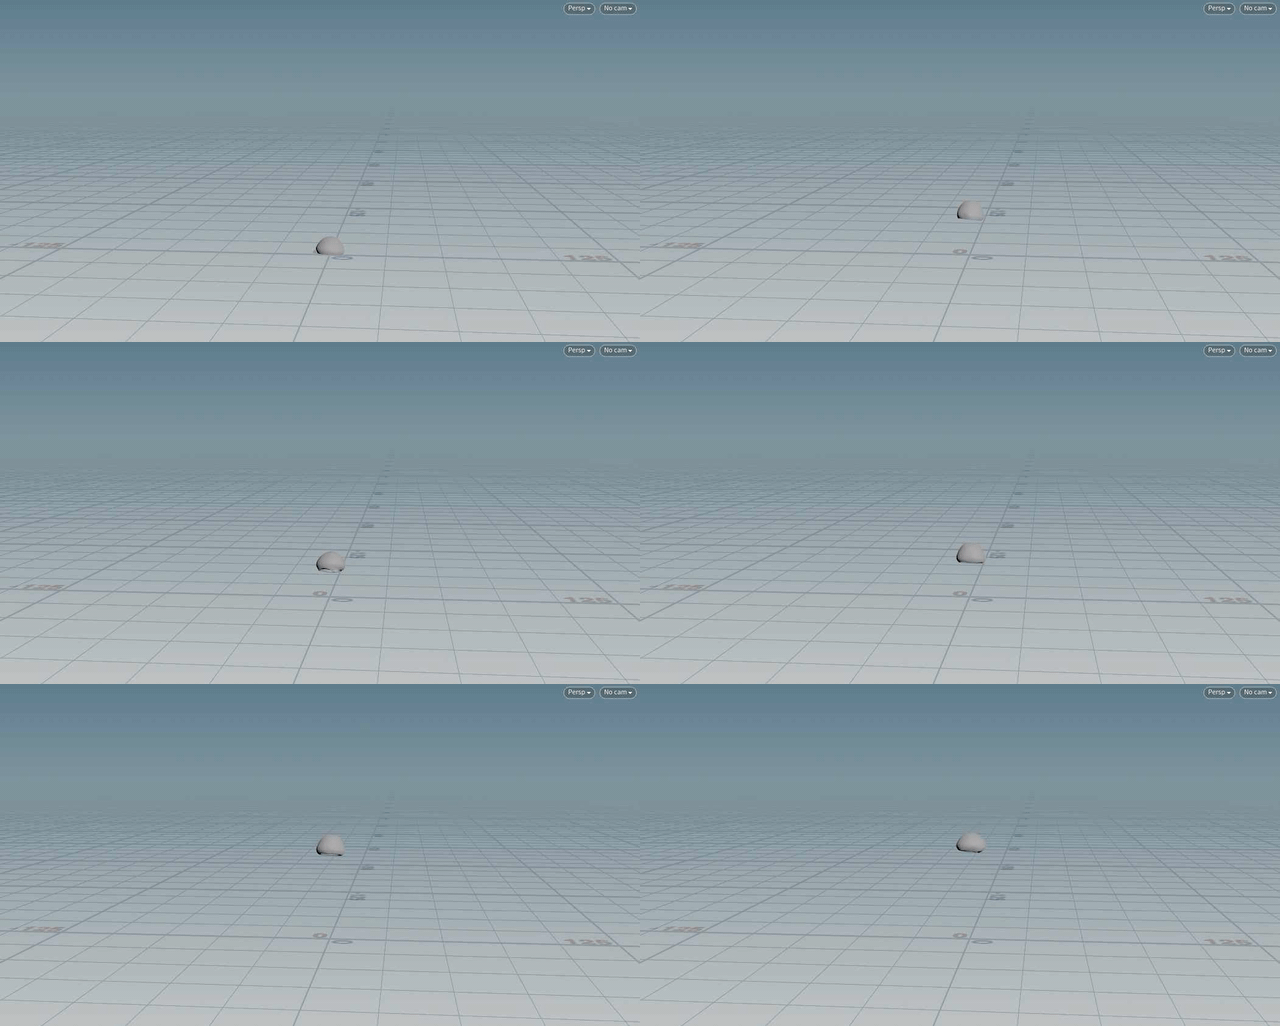
After receiving feedback from the lead I realised that due to the potential future changes that may be required for the jellyfish nCloth may present some issues. Taking on that advice I needed to recreate what I had implemented in Maya another way that may allow anyone to be able to plug in values and control the simulation of the jellyfish movement. I decided the best place to do this was Houdini where I could set it up exactly so. I decide to use the CHOP network node to achieve a similar set up as the dynamic constraints from Maya. After setting up all the levels of resistance the model had to have against the forces which could be controlled by a color ramp the CHOP network node was the only other controller necessary to change the amount of propulsion the jellyfish would exert mainly through and amplitude slider. These became the controllers for the prototype moon jellyfish to experiment with and in that we showed that we could create a set up to capture that basics of that movement. This is an example of a development roadmap.
Another time I was asked to help design a system for R&D was for the HBO Watchmen project as referred to in the Maths page. This time the system was to make a plant grow from nothing to a tree with branches expanding out as it grows upwards. I made several iterations of a node script in Houdini with different trees I sourced from speedtree. I was able to pipeline the trees into this method and implement the script successfully on each tree. I created a line and placed a UV texture on to it. In a VOP I created an attribute parameter called ‘growth’ which through a fit node was bound to a pscale variable. This would allow the tree asset grow along the polywired line. I required a lot of feedback and advice from senior FX artists around me on this to get it correct. This assistance was in valuable to achieving what was needed for the team working on the job that were very specific on being able to control the speed of the tree growth in the tool. Especially when using the bind node in the VOP which I wasn’t aware how to use. Previous to using it all the tree branches would only spawn on one side of the line. The polywire node placed after the VOP would have the wire radius variable animated by the pscale. This was the basis of the system used on the job in the future for a shot where trees and other foliage rise.

