Knowledge
Comprehensively describe the processes and art of a particular department you have worked in, such as animation, lighting, FX or rigging etc etc. Describe one or more departments you have had the most experience with. Go into great detail with the particular standards of a department and the challenges they face with.
Skills
You will need to demonstrate proficiency in the techniques of a particular department, such as animation, lighting, FX or rigging etc etc. Using the industry standard software package required by the particular department. Use examples of one or more of the projects you have worked on. Examples or references should include screenshots; photos or clips.
Knowledge
At The Mill we don’t necessarily have whole departments dedicated to individual disciplines. For the most part a job will have people assigned to it with particular specialties. There are some techniques such as rigging or digital matte painting that are always seated in the same place but these are departments made of 3 or 4 people. Most other artists employed by the Mill are quite generalist with a particular specialty. This has allowed me the opportunity to fill in gaps and do tasks that I may otherwise not had the chance to try. I have mostly been modelling and rendering with a some gradual opportunities on effects.
Skills
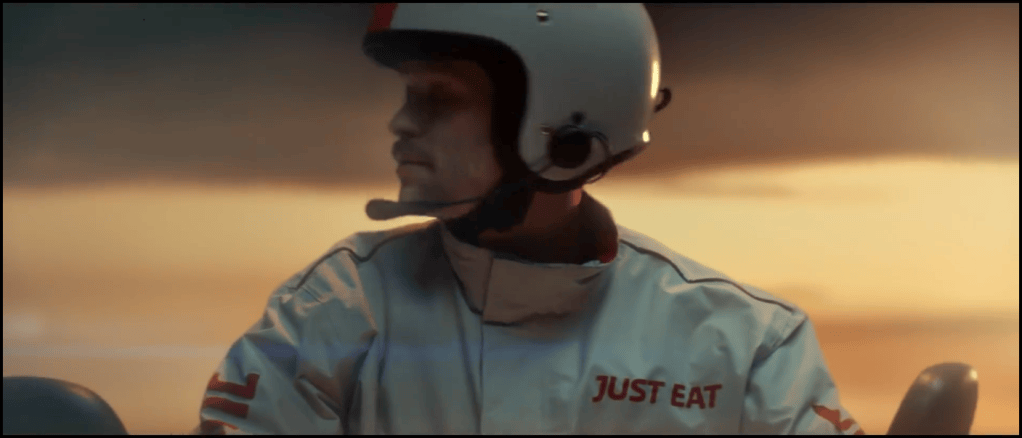
Just Eat Project
The very first job i worked on at The Mill was the Just Eat: Delivering for the nation project. I was assigned to assist the modelling of the motorbike that was being created as a double for the real one. The model had been modified from a Turbosquid model and tweaked to appear as the motorbike in real life. Only a few of the bike parts were original creations. In my limited VFX experience this had not occurred to me to do. I had previously felt that I should create all my assets solely from scratch. This was an instant learning opportunity that opened my eyes to how I could meet deadlines and attain excellent starting points on complex models instead of unnecessarily creating frequently created assets acquirable via the internet.
The general structure had been created/acquired and I joined as the sole artist creating the motorbike was creating the detailing asset such as the brake shafts and engine parts. I had never modeled any mechanical parts prior to this and may have second guessed myself at first. I also had never created for an asset that would need to replace a real world existing object. This was another layer of added pressure as I needed to model accurately with no room for creative liberties or personal expression. The individual models were not extremely complex but they did require several pieces per asset. Multiple screws, nuts and bolts were created. I took it upon myself to use the screws used previously on other bike parts. This was effective not only to save time but to keep up continuity on the model. In total for the job I created around 10 bike parts including the dashboard and then following that I modeled and textured the license plate and the motorbike driver’s mic and headset.
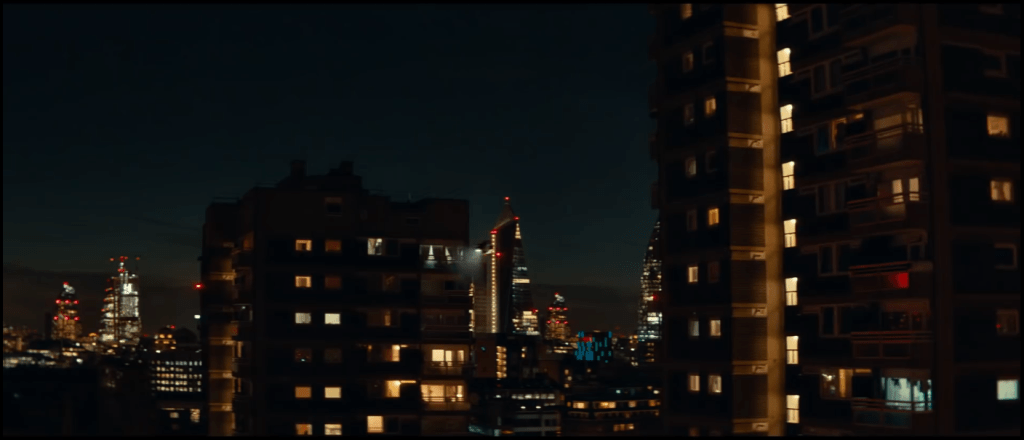
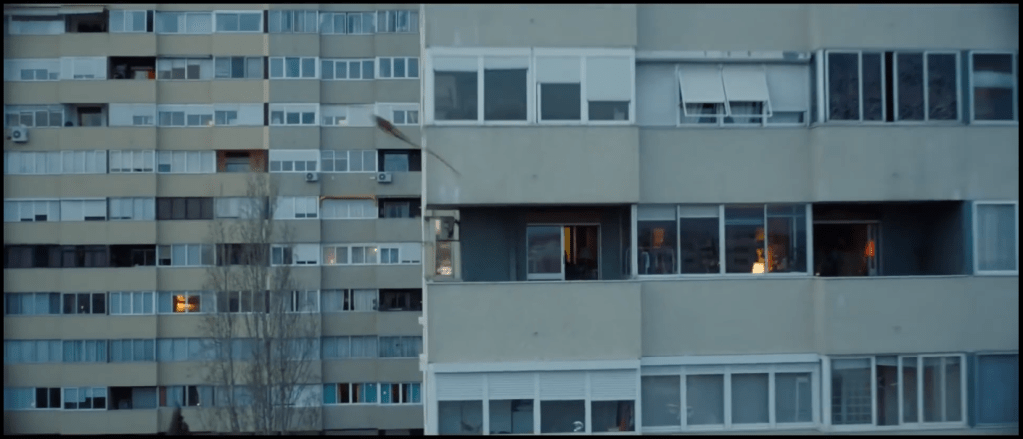
Following that portion of the project I was asked to create some set geo for lighting in a shot where the flying motorbike would pass between two buildings. I had some trouble with lining up my models with the plate to match the depth of the scene but was shown that I could pan zoom in my scene in order to more accurately line up he buildings in shot. I also spent a much longer time initially modelling the buildings as I thought that was replacing them and they would be seen. I spent a long time create balconies with railing, door handles and and window frames for a 15 story block of flats when I only needed an initial shape. The lead on the job later informed me of my mistake and explained what the set geo would serve as. I understood from that point that it was okay to ask more questions about how things worked instead of assuming I should know things that I had never previously worked with.
Smoke Portal
The area I have grown in the most is FX. I had not previously touched any FX software or really understood how to create any FX. I had also never used any node based software. So when I was in between jobs at work and I was told of hand to try and learn Houdini I knew it would be a large undertaking. I started doing independent Houdini experiments using Youtube tutorials and using the FX artists around me and others and worked with in the past.
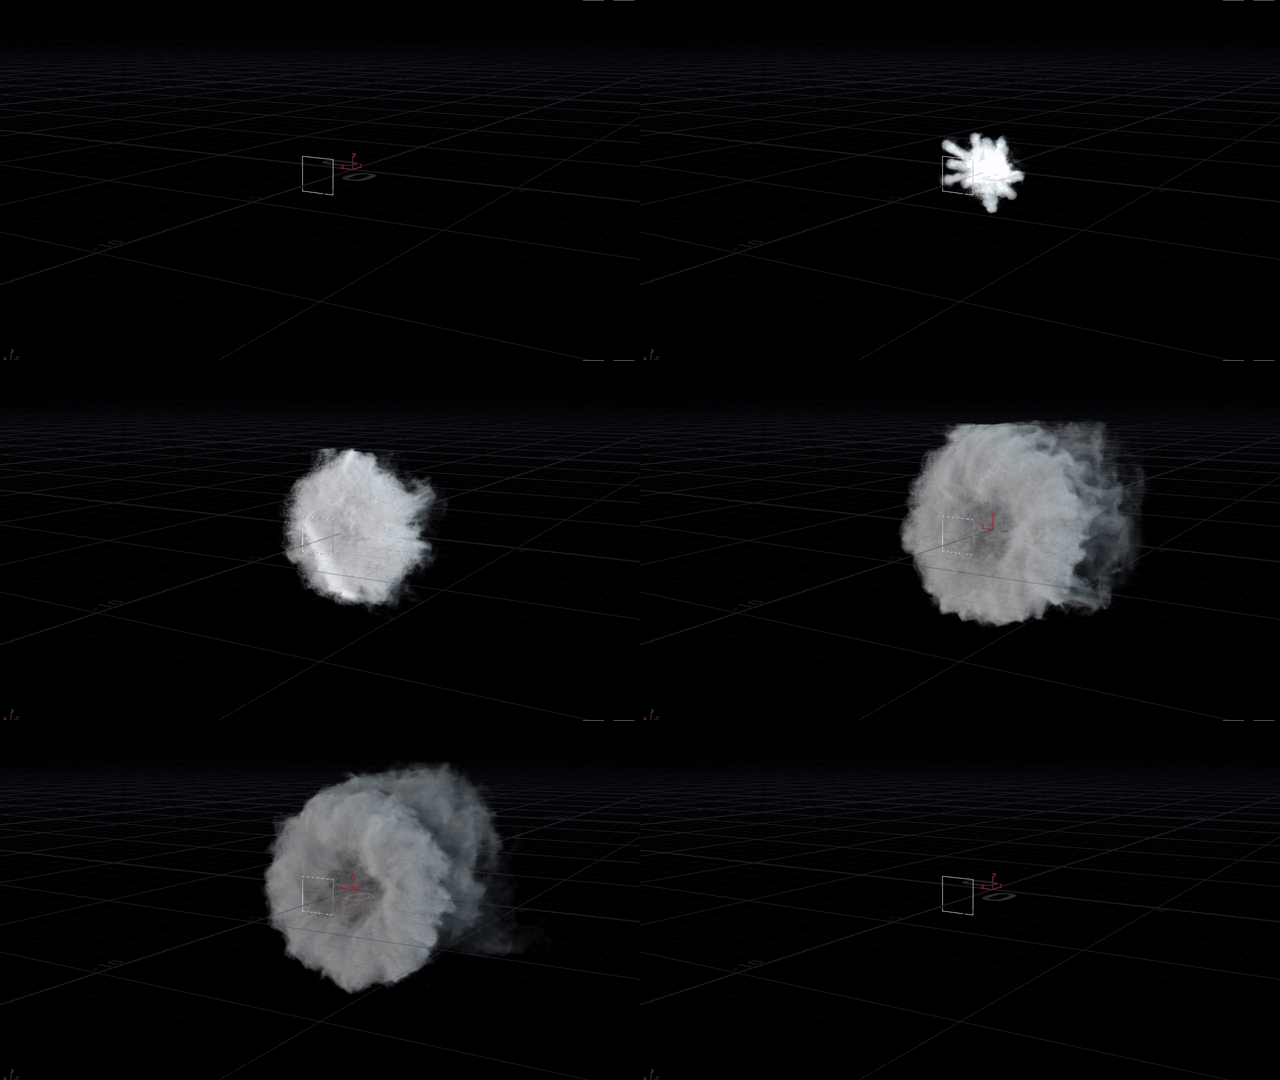
The first experiment I worked on was for a smoke portal similar to the ones popularized by the Avengers film franchise. I went down the FX route when experimenting with Houdini because I was being inspired by the FX artists around me and the FX they were creating. The base of this was a circle resampled to give me many points to emit particles from. The circle had a animated transform n it which meant the uniform scale increase over time. From here it split into three separate node tees and sections.
The starter particles node tree was the initial particles seen at the beginning of the simulation seen below. I ran some noise into the points through the vector attribute. Then with a ramp the vectors are randomised by point number per frame and a scatter is used to add more points along the circle but scattered. Then jittered to further the scatter effect. Then a delete node is used with a attribute noise to delete points before they can populate the entire shape. The next step was the POP network. In here a combination of POP wind and attract nodes where used to create the push and pull effect of the particles.
The curve particles begin with a timeshift that makes this section not activate till frame 30 when the starter particles are done. its then polywired to add thickness and create the doughnut shape seen below. an isooffset node than gives the shape a volume type look or haloing. Then scatter comes after to add the points. This scatter is made far denser with many more points. finally the POP network. In this POP network points are birthed and with a popcurveforce node to create the effect of the particles curving in and around the doughnut shape and a popwind to break up the shape, add direction and give that wind effect to the final product.
The final particle setup starts by wrangling the vectors and multiplying them randomly by time and pointnumber. Then scattering points again as before and jittering those scattered points further. Then the obligatory POP network. This one uses a popattract node to make the birthed points pull towards their origin point in the center. a popreplicate node is then used to make the continually birthed points inherit and add to the directional velocity of the previous point as it dies. after the particles have been created a wrangle is used to create a variable called age which is age divided by life. then brightness is given a ramp that uses the age attribute. Noise is then run through brightness before a vdbfrompartciles is used to create a fog like vdb. The previous node tree setups are combined using a merge node and had vdbfromparticles applied to them to end the setup. The last step is to run a smoke sim through the first two setups.
Wizards Unite
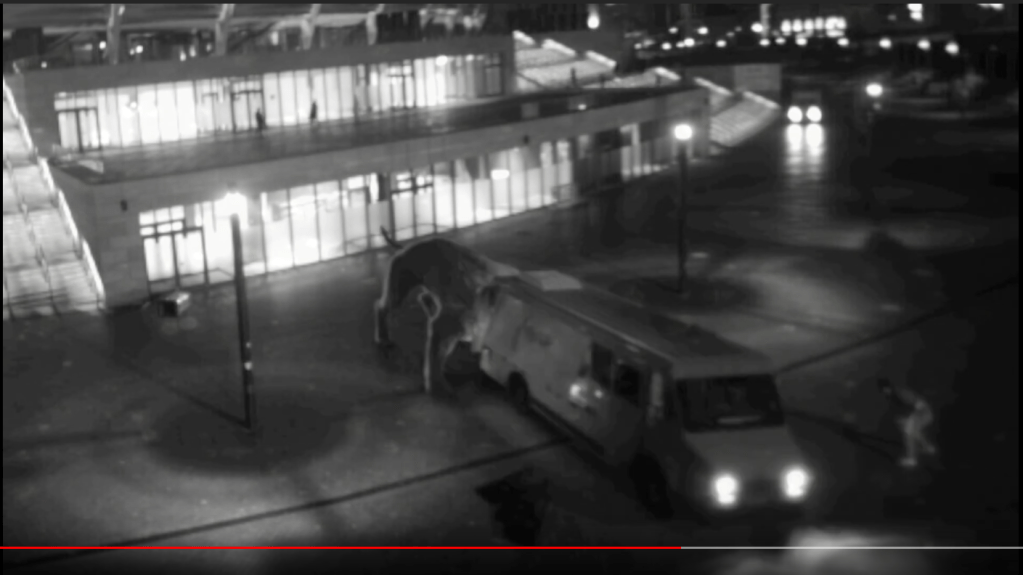
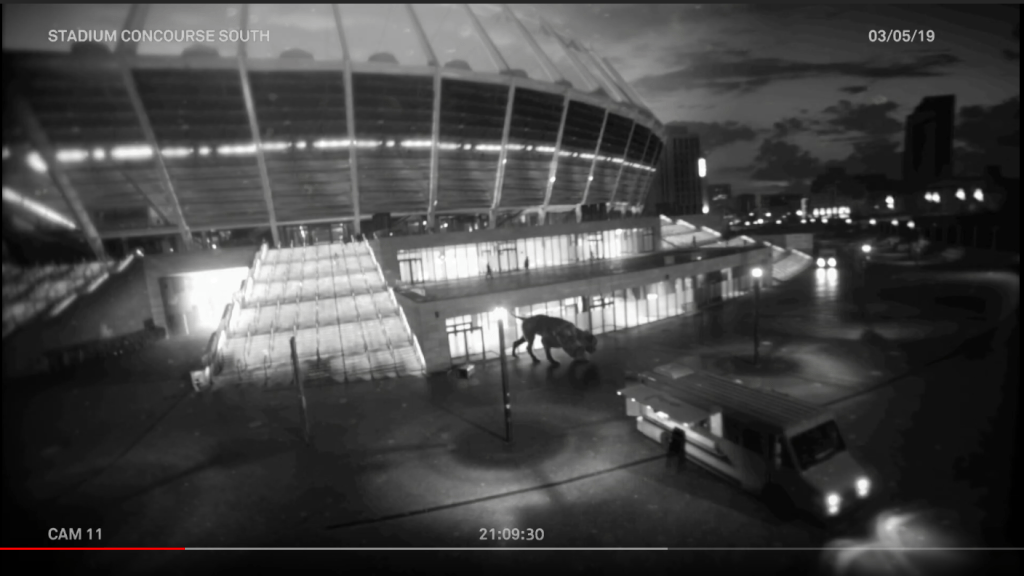
I worked on two different Wizards Unite jobs, one for the announcement trailer and the other teaser trailer. I had very different roles and responsibilities on these jobs. On the announcement trailer I was involved very early to create a taco truck that would hero in a a few shots. The shots would be in black and white with a security camera effect over the top but would still need to be high res and with as realistically accurate a possible. I created using the methods I had learned on the Just Eat job. I found many taco truck models on the internet to use firstly to understand the approach needed to create one myself. I then found one very close to the reference I was given to create the asset and used the shell of the truck as a base. I had to make many changes to the entire front portion of the shell but the rear shape and curvature was perfect and was a somewhat tricky shape to accomplish. The rest of the truck i made entirely myself and i also had to retopologise the majority often shell as it appeared to be converted from a scan or CAD data. I think this proved to myself I was capable of contributing to a large project and was a tangible result of my growing proficiency in Maya and understanding different 3D workflows.
The second job I also started on at the early stages but I stayed on till the very end of the job. I was firstly tasked with learning how to track and then tracking. This was a real challenge for me. I contributed to two tracks for that jobs but required a lot of guidance. I was then asked to create a wand for replacement shots. I recreated the wand used in the shots, modeled and textured. I then tracked the first shot it was to be used in. In this shot the actor would be holding a phone that would transform into the wand and I handed off the wand for the completion of the shot after it was tracked.
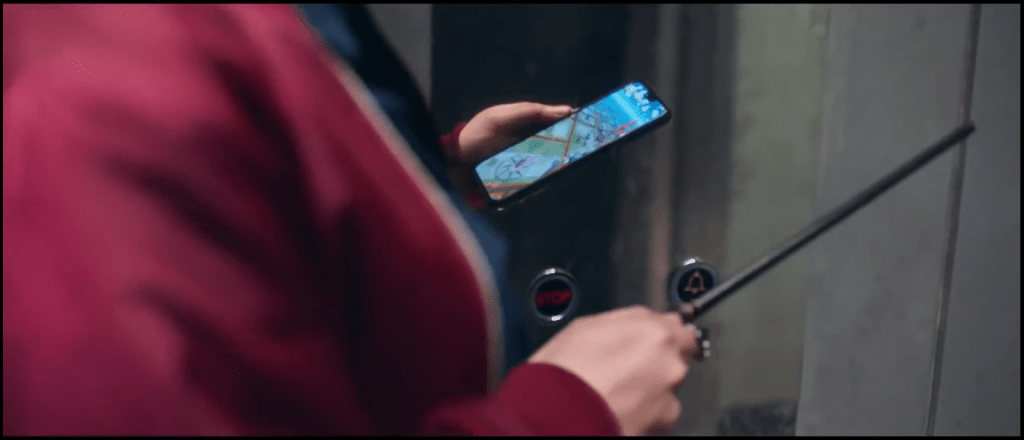
I then had the laborious task of hand tracking in the wand onto three separate shots. The actor would be swinging the wand – casting a spell and the wand I created needed to react to the spell. I re textured the wand to add wear and magical emission coming from the wand. I had to track the wand movement of the actor in hand which was extremely difficult and time consuming. This was because we are viewing the actor from the front so some guess work was needed to work out the z axis movement of the wand. I animated the emission of the ‘magical wand core light’ so that the glow would increase and the decrease as she cast the spell and then the subsequent cooling of the wand. My final tracking tasks where of to shots of a flake being magically placed into a ice cream. After doing so much hand tracking I was confident I could bring those skills to any other job after that that required hand tracking of objects. This was also not the last time I was asked to track shots as I was asked to do it more often after it had been talked about amongst the leads that I could do it.
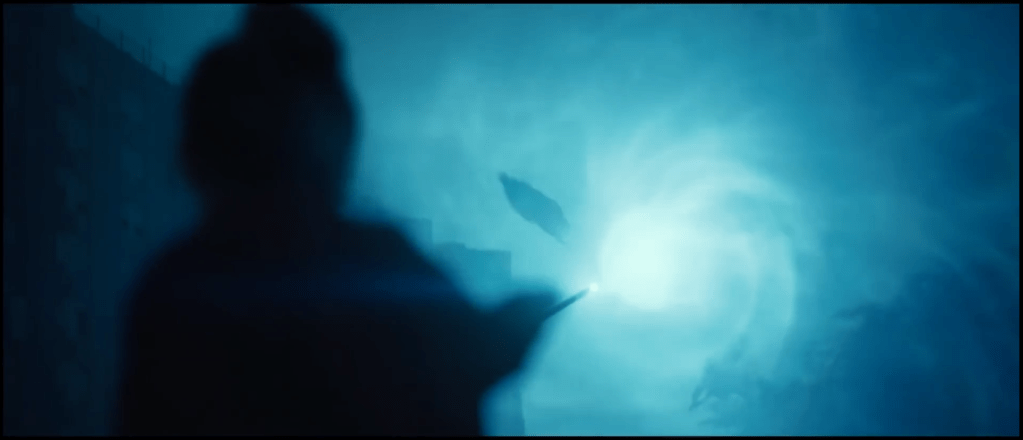
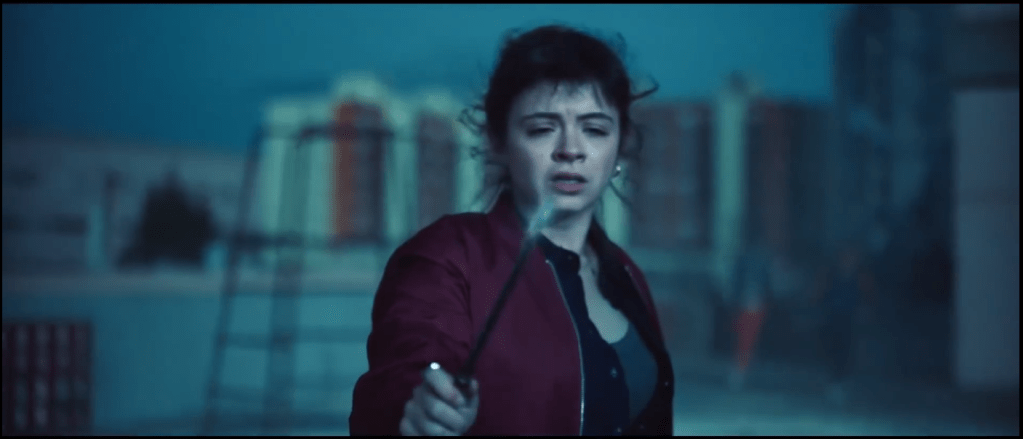
I then was moved onto lighting some shots which I had never previously done. I lit several broomstick shot, the first, the broom was high on the upper levels of a block of flat flying around them towards camera.
In the future I would like to pursue a greater role in the FX department. I would like to get more proficient in my fundamental 3D skills and be a large contributor to the assets department whenever can but I would also like to be called upon for FX jobs. I greatly enjoy asset creation and texturing and lookdev and would like to actively continue to explore the possibilities of these disciplines in Houdini. I feel that Houdini has a lot of upside for the future and I have greatly enjoyed my time with it so far. Procedural modelling and scripting in particular are of great interest to me. I have experimented with some procedural jigsaw piece script before and find it deeply challenging but rewarding once I can get my head around it. With time and a further dedication to learning computing languages better i think this is al possible.

